By Chip Coker KD4C
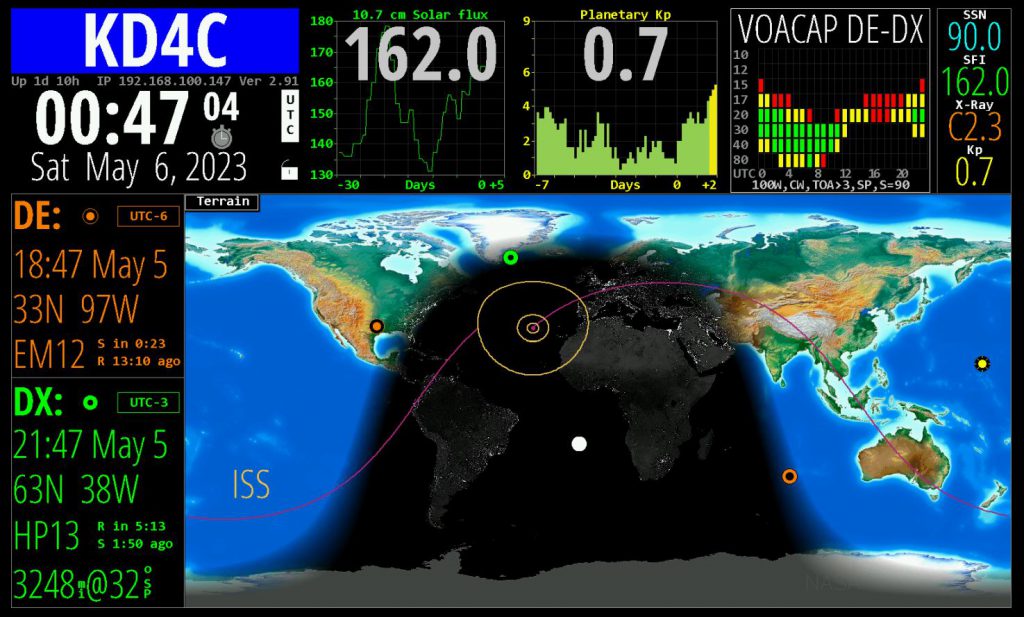
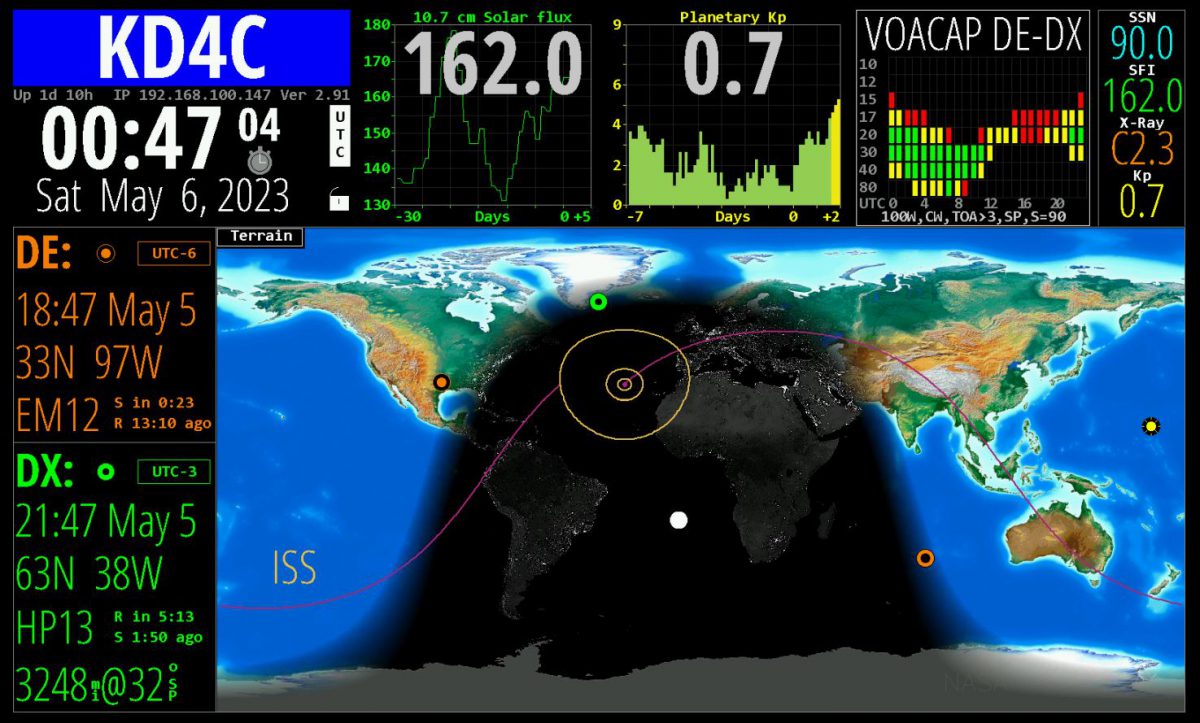
What if I told you that there was once a big wall-mounted device (called a GeoChron) that cost hundreds, even thousands, of dollars, and that many hams coveted it as the ultimate shack accessory. And what if I told you that said GeoChron gave you an up-to-date DX map of the world and showed light/dark areas, sun position, and grey line, and was the first thing a non-ham noticed when walking into a ham’s shack for the first time, getting “oohs and aahs”. Now, what if I told you that, instead of having to buy a big expensive gadget, all that capability and much much more is now available in a single piece of software, and that software is FREE and runs on a Raspberry Pi. So now for $15 (Raspberry Pi Zero) and a bring-your-own HDTV or computer monitor, you can have the ultimate shack accessory!
This software is packed with so many helpful features that I’m going to have a hard time describing them all here. First, in addition to a Local or UTC clock, it’s a real-time Map of the World, that shows sunlight position and illumination, and the current position of the “grey line”. Second, it displays information about your selected “DX” station, including position, grid square, short path and long path range and rotor bearing, current weather, and time. Third, it has helpful “widgets” for propagation (SFI, Sunspots, Planetary K, DRAP, Sun imaging – pretty much any propagation related statistic. Fourth, it can monitor and display live spots from the DX cluster and POTA and your spots from PSK Reporter. Fifth, it has built-in orbital predictions to show when your favorite ham satellites are going to be overhead. Plus, you can view and control the entire display in a web browser on your network (if you have the big image on a wall HDTV). Oh and did I mention that the software has a full API so you can control it from other software (more on this later)? Now I’m exhausted from trying to describe the features, and I’m sure I missed some.

Now surely by now you’re asking “how can I get such a thing?” Well, the hardest part is getting your hands on a Raspberry Pi. A Raspberry Pi Zero will work just fine, and they have been available every other week at MicroCenter – You will have to be diligent and check the website. You will also need a MicroSD card (also available at MicroCenter). The process is fairly simple, even if you’ve never done much with a Raspberry Pi: 1) Install Raspberry Pi OS (there are a bunch of YouTubes on how to do this), and 2) go to the HamClock page, select the “Desktop” tab, and follow the easy instructions. The User Guide is fully documented so you can figure out all the things that you can configure and click on!
Because this is Linux, I will warn you now that it’s not the usual Microsoft “double click the installer” app – there are some “command line” instructions (I think a total of 4). Do not let this scare you off! The result is worth it to have this on your shack wall. I recommend that you just run it “full screen” and just use the built-in HDMI out of the Pi (you might need an adapter) and just pump the display into a wall-mounted HDTV or a spare computer monitor with an HDMI input. But you can also just stick the Pi under the desk and run it in a browser window, through a VNC session, or on a small dedicated display.
Oh, and I mentioned a fully scriptable interface. After a small mention and prompting from me, Josh N4NZ created a small NodeRed flow to take the “double-click” station from WSJT-X, harvest the Grid Square, and send it to HamClock. So now when you click on a station calling CQ on FT-8, the HamClock map will then set the DX on the display and you will see the path, range and bearing, etc. That’s both cool and helpful. This part is a little more involved than the basic install, but if you understood the previous sentences in this paragraph, talk to one of us after you get HamClock up and running!Jason KM4ACK shows how to install and configure HamClock (as well as some extra things list change the display resolution)
